

Has winter taken its toll on your
skin yet? Is your makeup feeling as dull and flat as the weather outside? Bring
a little light into your life and revive your face with a little strobing. Not
sure what this is? Basically, it's the opposite of contouring (Who could ever
get it right anyway!). Instead of receding features to enhance them as
contouring did, you focus solely on highlighting or "strobing" the
high points of your face, where the sun would naturally hit. And with so little
sunshine these days who doesn't need a little extra help to make themselves
feel luminous. So light up your life by adding a little party season glow to
your face.
This look is all about dewy,
glowing skin and the best place to start is ensuring you gently exfoliate your
face 1-2 times a week to rid yourself of
any tired or dull skin. Always apply a good replenishing moisturiser after and
leave this penetrate the skin for at least ten minutes before starting your
makeup.
Strobing usually takes place
after you have applied your foundation however this time of year every little
helps so you can begin the process with your primer. Try Bourgois
Paris Happy Light Luminous Serum Primer,(€15.99, Boots). This lovely little primer will prepare your skin
for a flawless foundation application while its light reflecting properties
will peep through to enhance your natural glow.
 Many people prefer to use a cream
or liquid based highlighter as they give a more dewy effect however, for those
of you with oily skin its best to stick to powder formulas. For those with
paler skin try using a Champagne coloured highlighter, try NYX Liquid Illuminator, Born to Glow, (€10.00, Boots). Medium complexions can opt for a pinker/peach
shade, use Rimmel Good to Glow in
Picadilly Glow, (€6.50, McCabes
Pharmacy). If you have dark skin look for a highlighter with an orange or burgundy
undertone, try Inglot AMC Face & Body Illuminator 62 (€20.00, Inglot Stores).
Many people prefer to use a cream
or liquid based highlighter as they give a more dewy effect however, for those
of you with oily skin its best to stick to powder formulas. For those with
paler skin try using a Champagne coloured highlighter, try NYX Liquid Illuminator, Born to Glow, (€10.00, Boots). Medium complexions can opt for a pinker/peach
shade, use Rimmel Good to Glow in
Picadilly Glow, (€6.50, McCabes
Pharmacy). If you have dark skin look for a highlighter with an orange or burgundy
undertone, try Inglot AMC Face & Body Illuminator 62 (€20.00, Inglot Stores).  The trick to keeping this look
fresh and not making yourself look like a Christmas decoration is to keep all
other powder products you use on your face matte, this includes blush, shadows
and bronzers.
The trick to keeping this look
fresh and not making yourself look like a Christmas decoration is to keep all
other powder products you use on your face matte, this includes blush, shadows
and bronzers.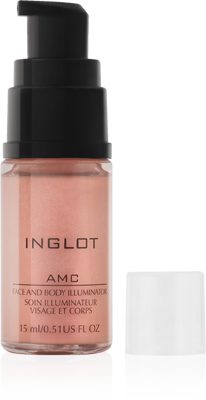


