
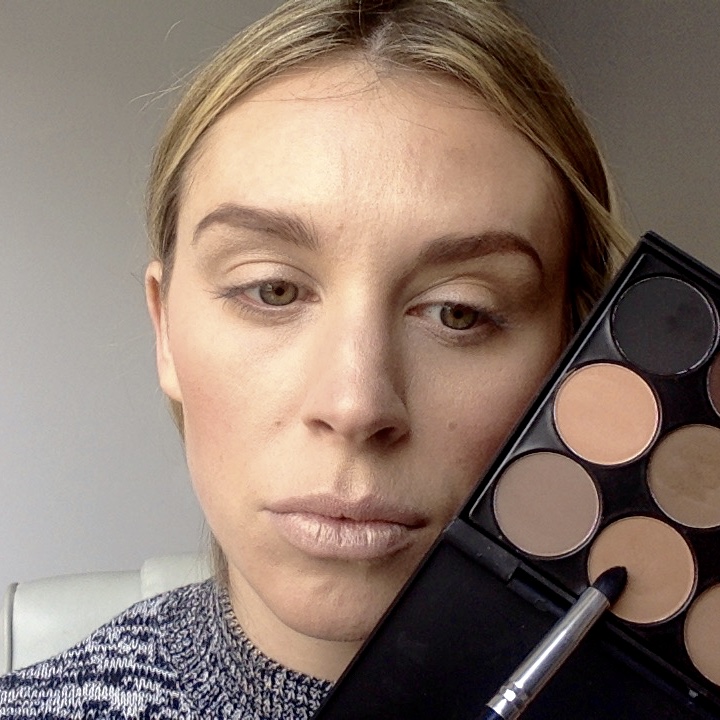
This is it, the final hurdle. Step 5. In this tutorial we will finish off the eyes with some eyeshadow, a little liner and mascara. Then finish with the lips. There really is no need to apply a lot of eyeshadow for an everyday natural look, in fact pretty much most days I go without. Saying that it can add lovely definition to your eye area and can also help to reshape your eye area just like contouring does to your face. Apply the same rules for your eyes as you would your contour an highlight. Remember dark pulls back and light pushes forward. So those of you with hooded eyes, keep your lid bright and darken your crease. Large or bulging eyes can opt for a darker lid with a lighter brow bone. Close & deep set eyes keep the inside part of your lid bright and darken the outer corners the opposite for wide set eyes. The most aesthetically pleasing eye shape is said to be almond or big, but unfortunately one size does not fit all and so we can use the magic of makeup to recreate these dimensions. For a very basic neutral daytime eye, remember the rules above and follow the proceeding steps.
Step 1 Use a median brown to define the outer corners of your eye. This colour will be your base for pretty much every eye look you will ever do. Using a small bullet brush apply this in the outer corners in the shape of a 7. Do not go past the outer corner of your eye or below your upper lash line as this will drag your eye down. Repeat on both sides.
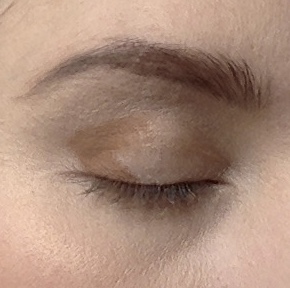

Step 3 Using a darker brown (2-3 shades), apply this on top of the median brown in the outer corners again in a 7 shape, this time however make it slightly smaller. Your goal here is to add a little depth and definition to the eye. We are not looking to create a dark smokey eye. Again using a clean fluffy brush blend this inwards along the crease. This will soften out any harsh lines. By using the two different shades of eyeshadow it creates a great layered effect adding more dimension and warmth to the eye.


Step 4 Using the first brown shade and a small bullet brush, run this halfway under the lower lash line. This will marry the upper and lower lash line skiving a more professional and polished look.


Step 5 If you want to add a little more light onto the lid use a cream or pale shadow. Apply this using a small flat brush to the inner part of your lid using patting motions. If you like you can blend this further using a clean fluffy brush. A mantra I'm sure you all know "if in doubt, blend it out!'.


Step 7 I'm using Urban Decay, Ink for Eyes, Waterproof Precision Eye Pen. I've found this to be one of the better eyeliner pens available. MAC, Rimmel etc. all have their own range but I've found that their liner doesn't last on the nib, it seems to run out halfway along the lash line. Tis one also does not budge and acts more like a gel liner than other liner pens I've used. Of course you can always use a gel liner and small brush if you prefer which I always have in my kit.
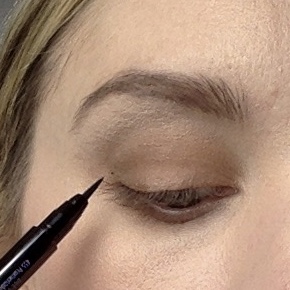
Step 8 Looking head on in the mirror find a point where you want you liner to end and mark it with a tiny dot. Always make sure the dot is higher than the outer corner of your eye otherwise the line will draw your eye downwards. Draw a line from the dot to the outer corner of your eye.

Step 9 From the line continue along to the middle of your eye keeping as close to the lash line as possible. Take your time, if you slip up here it is hard to fix.

Step 10 I like to do each eye in stages. Find a method that works for you and stick to it. I Start with the point, joining to the outer corner of the eye, up along to the middle of the eye then I go in from the inner corner of the eye along the lash line to meet the rest of the line in the middle.
Step 11 Apply whichever mascara you prefer, giving the upper lashes a good coating and a little touch to the bottom lashes. When applying your mascara on the upper lashes look down so you can get right into the root of the lashes and wiggle the wand through. To get to the fine inner lashes look down and away from the direction of the wand. Look up, tilting your head down when applying mascara to your lower lashes.

Step 12 The end is nigh! Finish off the look with a neutral peachy/pink lipstick. Choose a shade that will match your skin tone. In general warm skin tones look great with brown/orange undertones on their lips, while pinks look great cool skin tones.
Step 13 Line your lips with a nude lip liner or one that closely match your chosen lipstick. Fill in the bottom lip slightly with your loner, this will give your lipstick more lasting power. Using either a lip brush or the lipstick bullet itself alley along the upper and lower lip in patting motions. Smooth your lips together and your are now done!


I really hope that these tutorials have been helpful. I know for many who follow beauty blogs this will seem like the very basics. For others hopefully it will have instilled a new found confidence in them when applying their own day to day makeup.
Please feel free to comment good, bad or indifferent below or on my Facebook page, Kelliebbeautiful.
Thanks for reading.
No comments:
Post a Comment